
Connecting Snowflake with SnowSQL
Last updated: September 2024
Quick answer: SnowSQL is Snowflake’s official command-line client for connecting to Snowflake and executing SQL. Install it from the Snowflake downloads page, configure your connection using your account URL, username, and password in the ~/.snowsql/config file, then run snowsql -a <account> -u <user> to connect and execute queries directly from your terminal.
Introduction
SnowSQL is Snowflake’s command-line interface (CLI) and the primary tool for connecting to Snowflake from a terminal environment. Beyond basic data loading, SnowSQL enables you to execute SQL queries, manage Snowflake database objects, automate workflows, and handle advanced data operations. This SnowSQL setup and connection guide covers installation, configuration, and practical examples for both beginners and experienced data professionals.
What is Snowsql?
SnowSQL is a powerful CLI tool designed to connect to Snowflake’s cloud platform. It allows users to:
- Execute SQL queries (DDL and DML operations).
- Load and unload data from Snowflake tables.
- Manage databases, schemas, and warehouses.
- Automate tasks by running SQL scripts.
Setting Up SnowSQL
Before diving into queries, let’s set up SnowSQL on your machine.
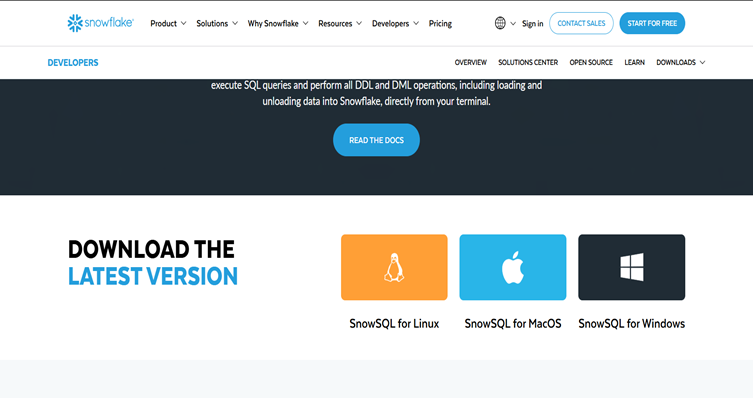
Download SnowSQL:
Visit the Snowflake SnowSQL download page and select the installer for your operating system (Windows, macOS, or Linux).
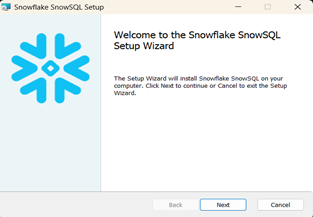
Install SnowSQL:
Run the installer and follow the wizard prompts.
After the installation, verify it by checking the version in your terminal using the syntax below.


Enter the following command. The account name or identifier and login name are shown in the Snowflake Account Details. Copy and paste the account identifier and username into the command and press Enter.


Type your password and press Enter. If your password is correct, you will see output similar to the following.

If the login is successful, you will have access to Snowflake.
Loading Data from Local Machine to Snowflake Using SnowSQL
Loading data into Snowflake involves two main steps: staging the file and copying it into a table. For loading data from cloud storage instead, see our guide to loading data from Azure Cloud to Snowflake. Follow these steps:
After connecting to Snowflake, create a database and use the public schema (default). You can also access other databases according to your role privileges.


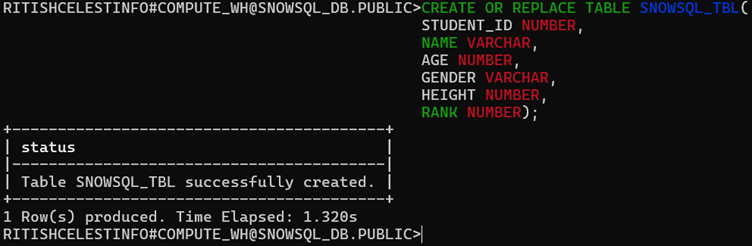
Create a target table to store the data:

Create a stage for storing the file:


Stage the File


Copy Data into the Table
Load the staged file into the table.


This command specifies the file format (CSV) and skips the header row.
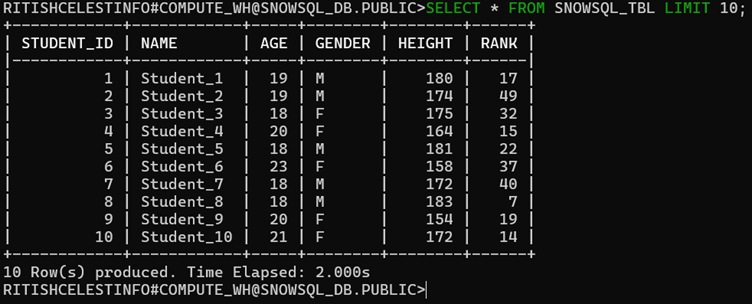
Verifying the Load
To ensure the data loaded correctly, query the table:

What Else Can You Do with SnowSQL?
By using SnowSQL, you can also manage roles, users, warehouses, and much more. For best practices on managing roles and permissions, check out our article on data access control strategies in analytical platforms. Here are some basic uses of SnowSQL.
Here is a basic command to show all the roles in Snowflake.


Viewing Databases in SnowSQL
You can also use SnowSQL to list and manage your databases. Here is a basic command to display existing databases.


Creating a Role
A role in Snowflake defines a set of permissions that can be assigned to users. Use the CREATE ROLE command to create a new role.


Granting Usage to a Role
To access a database or schema, a role must have the appropriate privileges. To grant access to a role:


Creating a Schema Using SnowSQL


Creating a User and Assigning a Role


Granting a User to a Role


To access the new user account, open a new command prompt and log in using the new user credentials with the same account identifier.
Creating a Warehouse


Use the following syntax to see all the warehouses in the account:


Conclusion
SnowSQL is more than a data-loading tool -- it is a gateway to managing and interacting with Snowflake from the command line. From executing SQL queries and managing objects to automating tasks and handling advanced data operations, SnowSQL empowers you to streamline your data workflows. To take your data transformations further, explore how dbt integrates with Snowflake for ELT data transformations. Try these examples, experiment with scripts, and explore SnowSQL’s features to unlock Snowflake’s full potential.
Frequently Asked Questions
Q: What is SnowSQL and what can it do?
SnowSQL is Snowflake’s command-line interface (CLI) tool that allows you to connect to Snowflake, execute SQL queries, load and unload data, manage databases, schemas, warehouses, roles, and users, and automate workflows -- all from your terminal.
Q: How do I install SnowSQL on my computer?
Download the SnowSQL installer from the official Snowflake download page for your operating system (Windows, macOS, or Linux). Run the installer and follow the wizard prompts. After installation, verify it by checking the version in your terminal.
Q: How do I connect to Snowflake using SnowSQL?
Open your terminal and enter the SnowSQL connection command with your account identifier and username. You can find these in your Snowflake Account Details. After entering the command, type your password and press Enter to establish the connection.
Q: Can I load data from my local machine into Snowflake using SnowSQL?
Yes, you can load local data into Snowflake using SnowSQL in two main steps: first, stage the file using the PUT command to upload it to a Snowflake stage, and then use the COPY INTO command to load the staged data into your target table.
Still have questions?
Get AssistanceReady? Let's Talk!
Get expert insights and answers tailored to your business requirements and transformation.
Get Assistance