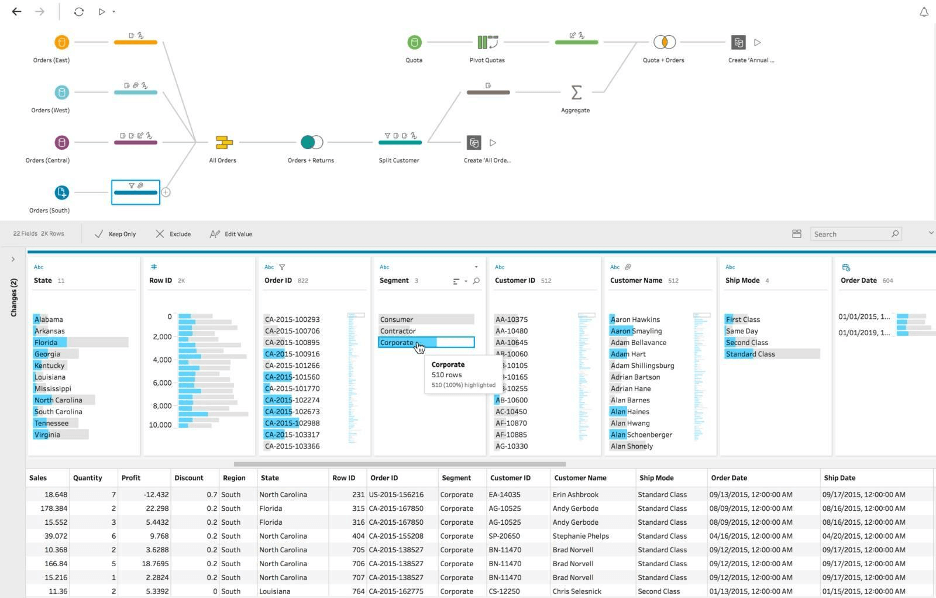
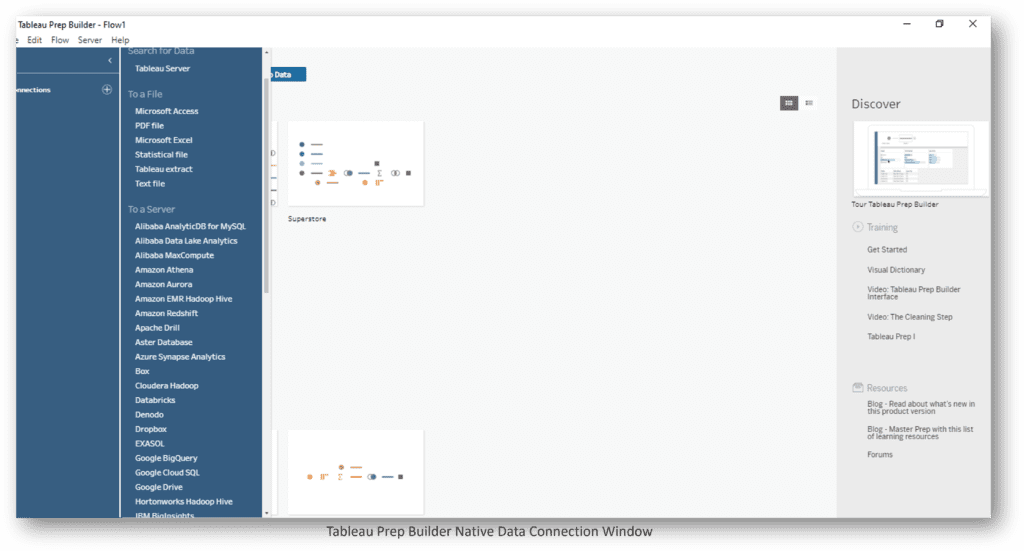
Use Tableau Prep to clean and prepare your data before importing it into Tableau Desktop. This tool allows for easy data shaping, cleaning, and merging, saving time and improving efficiency.
Here is step-by-step guide on how to use Tableau for common data cleaning tasks.
Step 1: Download and Install Tableau Prep
- Download Tableau Prep: Go to the Tableau website and download Tableau Prep.
- Install the Software: Follow the installation instructions to get Tableau Prep set up on your machine.

Step 2: Connect to Data
- Open Tableau Prep: Launch the Tableau Prep Builder application.
- Connect to Data Source: Click on the
+icon next toConnectionsto connect to your data source (Excel, CSV, databases, etc.). - Add Data: Select your data file or database, and then click
Addto bring your data into Tableau Prep.

Step 3: Inspect the Data
- Profile Pane: The data will load into the Profile Pane where you can see a summary of your fields and sample data.
- Identify Issues: Look for common issues such as missing values, duplicates, and incorrect data types.
Step 4: Clean the Data
- Remove Unnecessary Columns:
- Click on the columns you don’t need and select
Remove.
- Click on the columns you don’t need and select
- Filter Data:
- Click on a field to create a filter. You can filter out rows that do not meet certain criteria (e.g., remove rows where a specific column is null).
- Rename Fields:
- Double-click the field name to rename it for better clarity.
- Change Data Types:
- Click on the data type icon next to a field name to change its data type (e.g., from string to date).
Step 5: Handle Missing Values
- Fill or Replace Nulls:
- Click on a field and select
More Options(three dots) >Clean>Fill NullsorReplace Nulls. You can choose to replace null values with a specific value, forward-fill, or backward-fill.
- Click on a field and select
- Remove Rows with Nulls:
- Click on
More Options>Clean>Remove Nullsto delete rows with null values in a specific field.
- Click on
Step 6: Remove Duplicates
- Aggregate Step:
- Add an
Aggregatestep to group by fields that should be unique. - Click
+>Aggregate, then drag fields you want to keep into theGroup Bysection. - This will remove duplicate rows based on the selected fields.
- Add an
Step 7: Split Columns
- Split Fields:
- Click on a field that contains multiple pieces of information you want to separate.
- Select
More Options>Transform>Custom Split. Define the delimiter and number of splits.
Step 9: Combine Data
- Union:
- Click
+>Unionto combine rows from different tables with the same structure.
- Click
- Join:
- Click
+>Jointo merge tables based on a common field.
- Click
Step 10: Save and Export
- Save the Flow:
- Click
File>Save Asto save your cleaning workflow.
- Click
- Export the Data:
- Click the
+icon next to theOutputstep. - Define the output settings (e.g., file type, location) and click
Run Flowto generate the cleaned dataset.
- Click the
Add a Comment